01.05
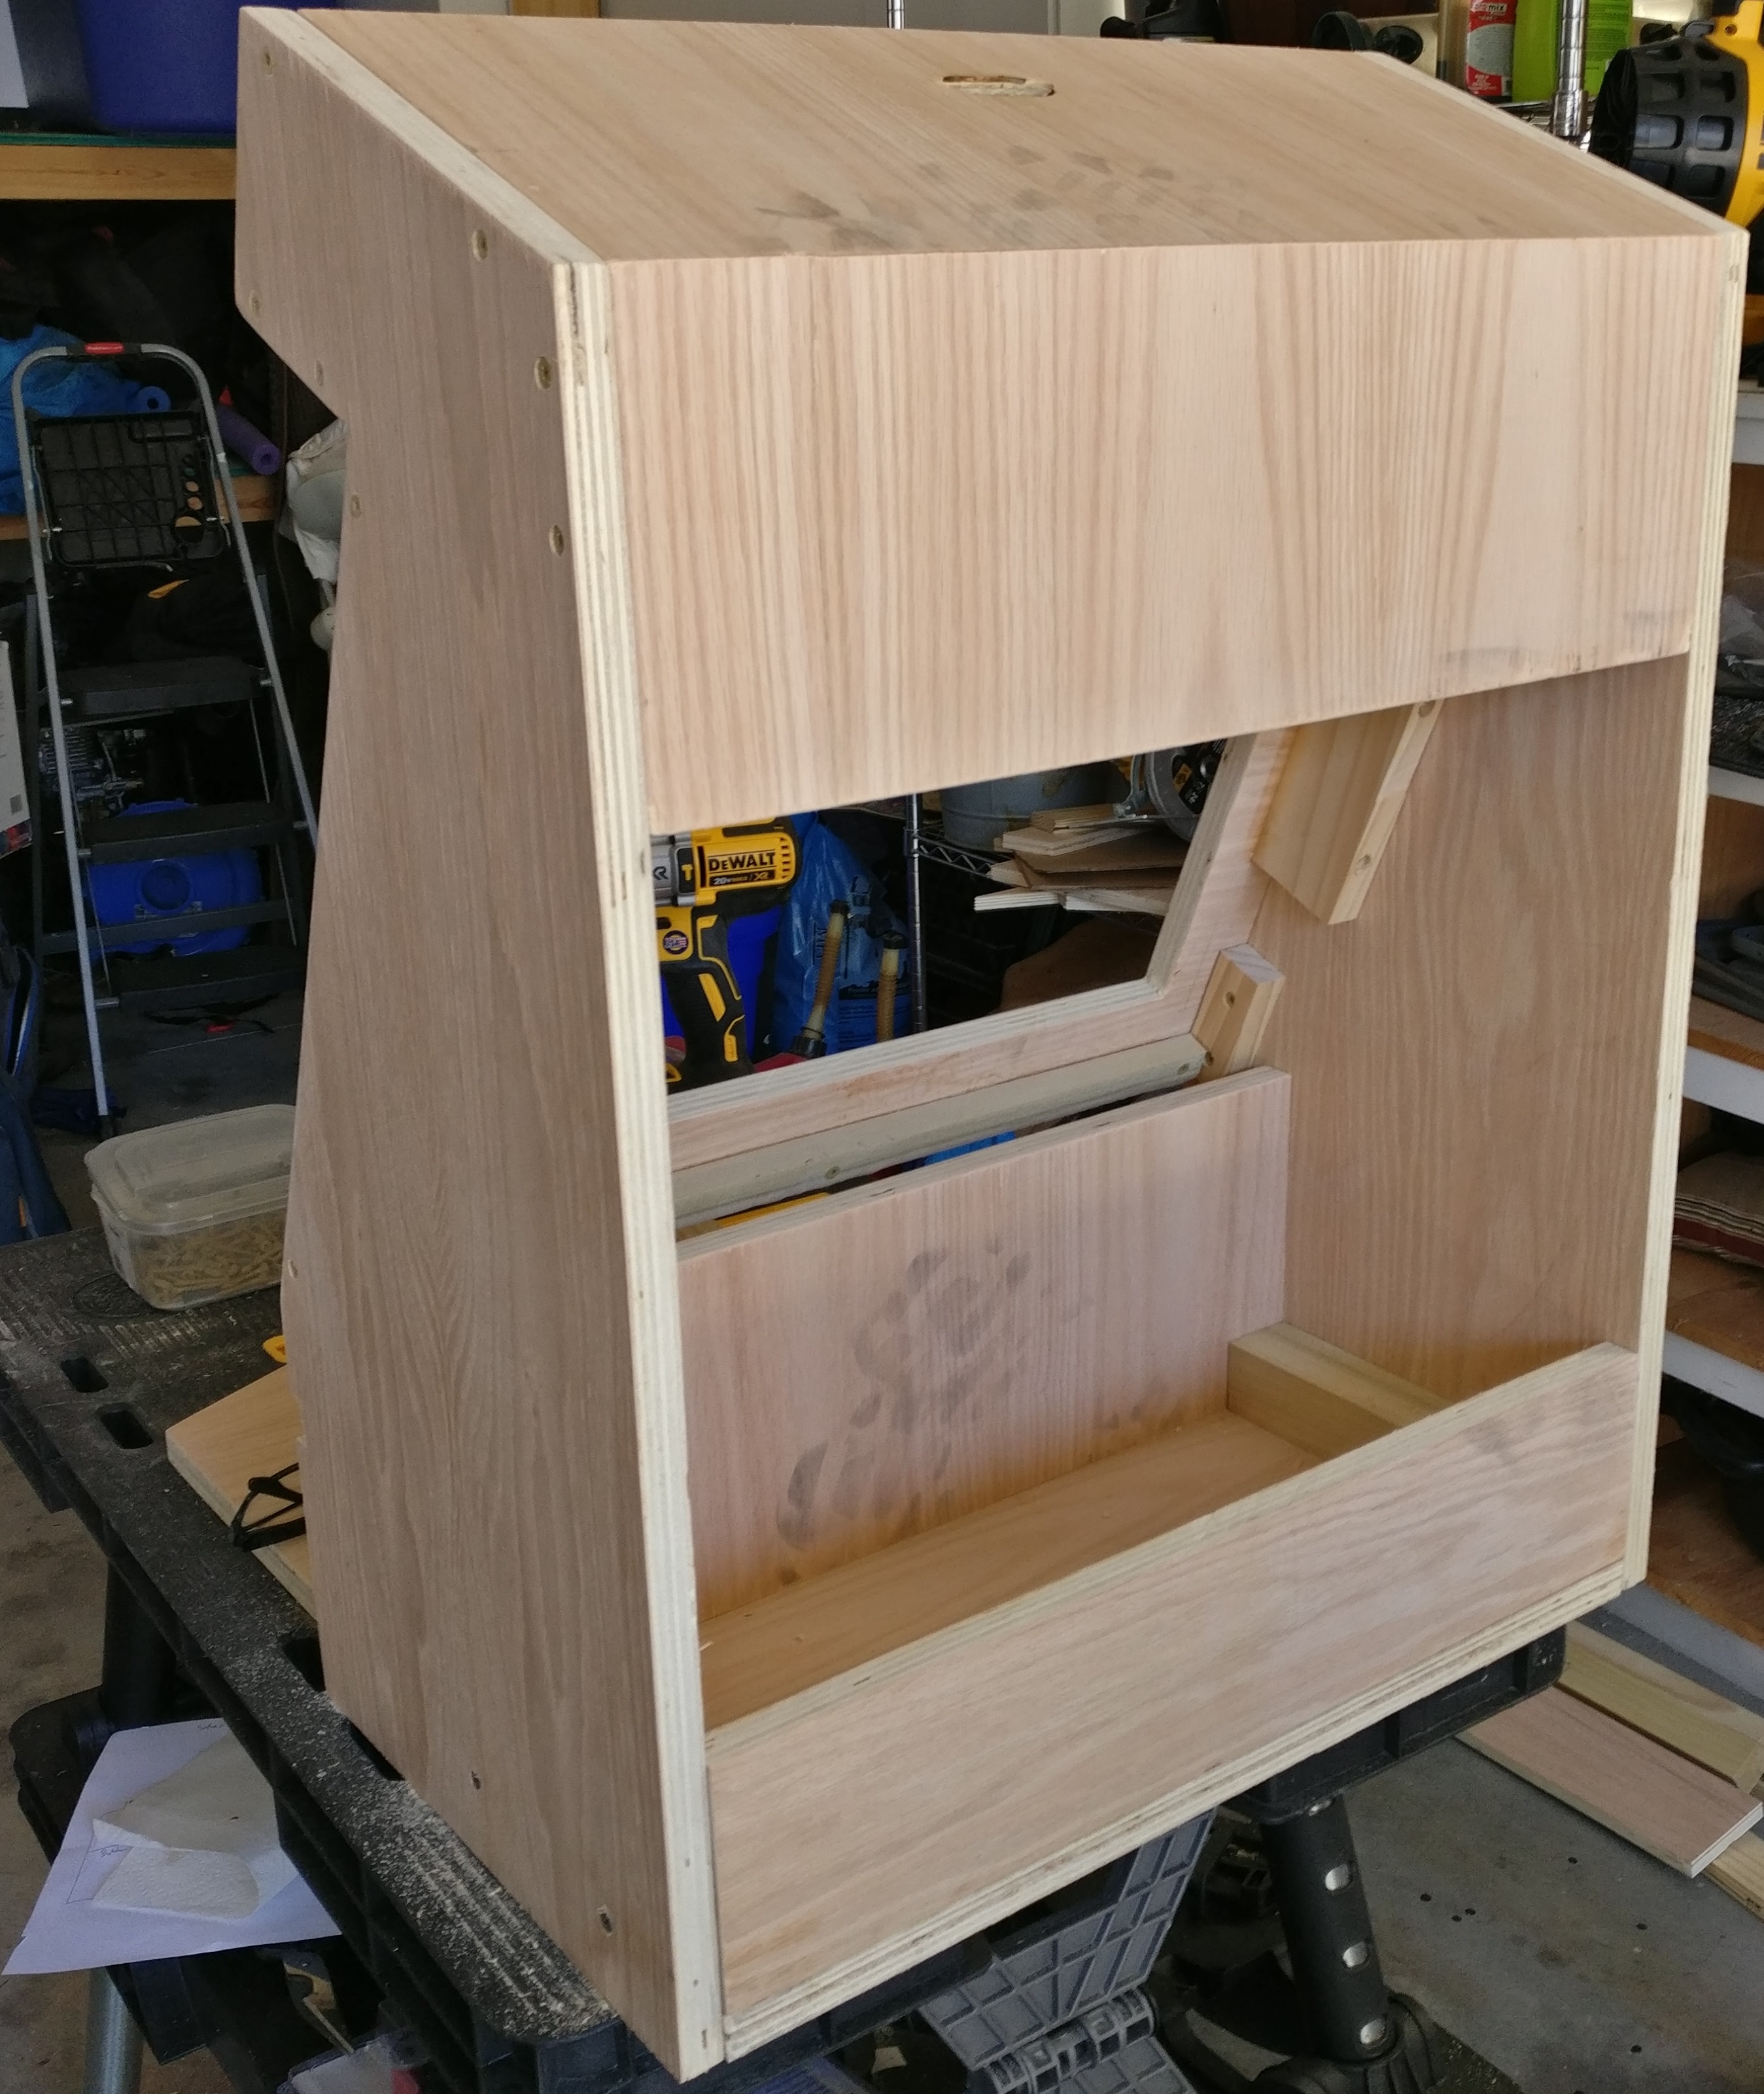
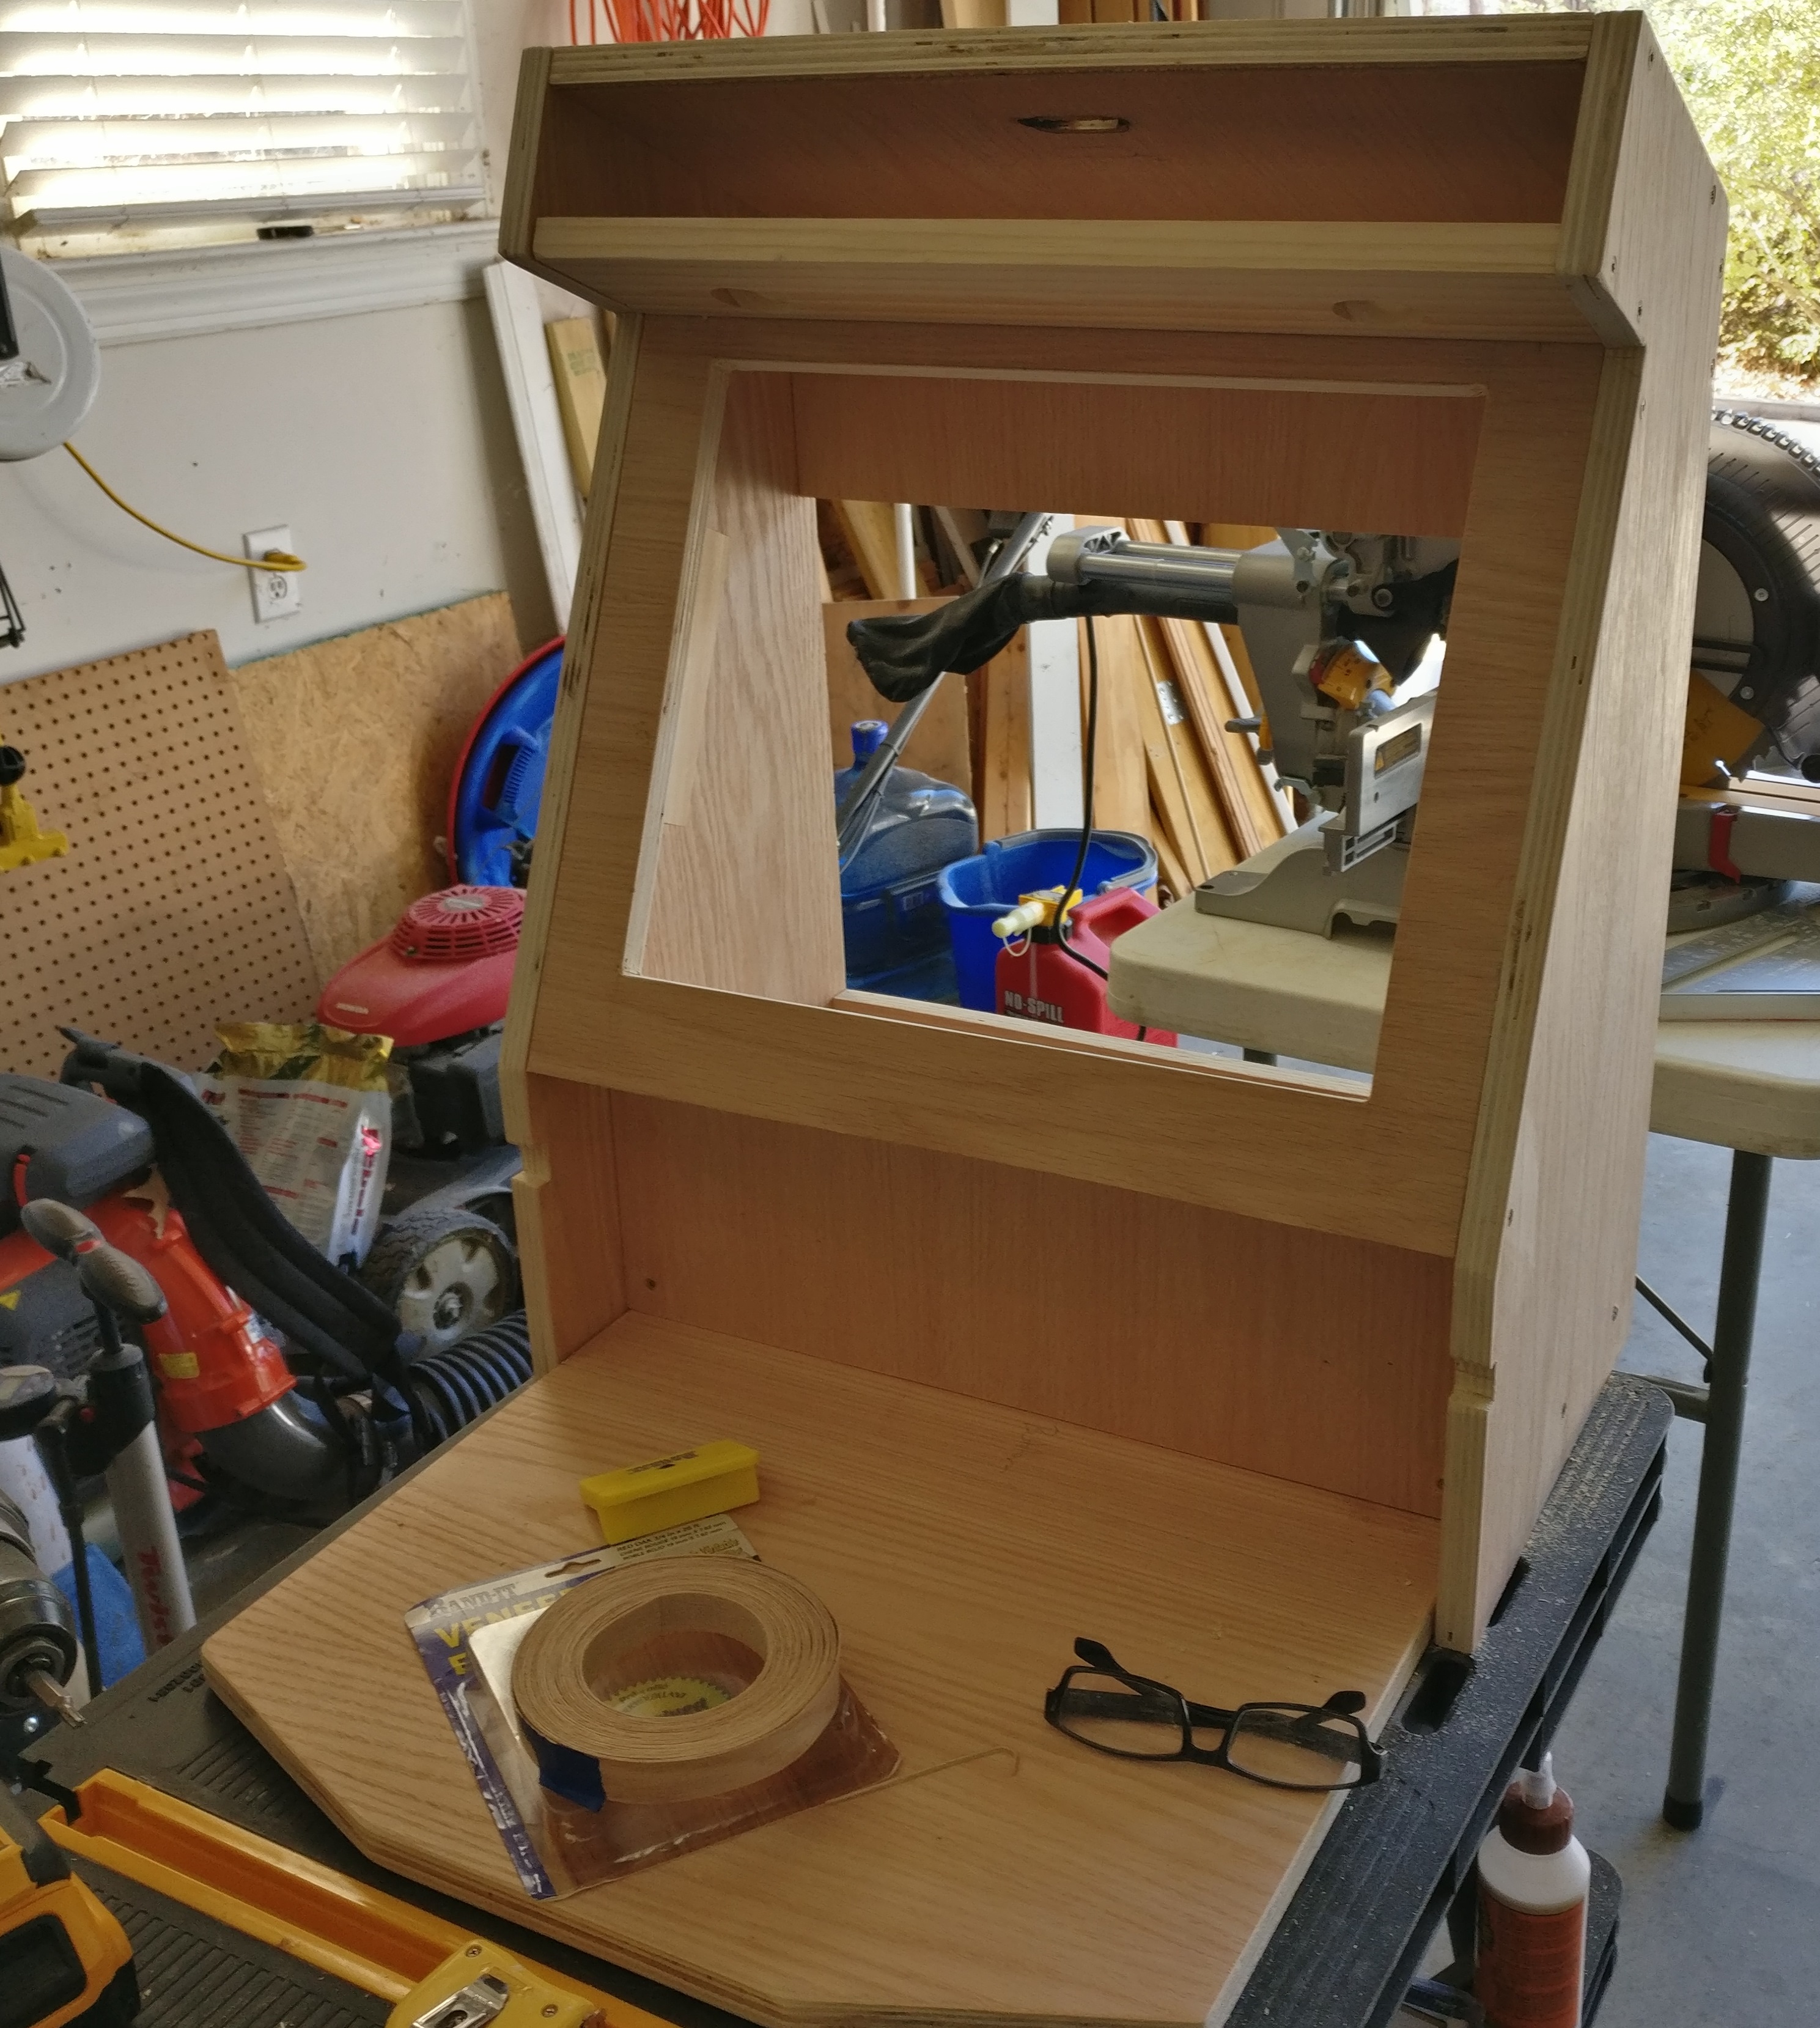
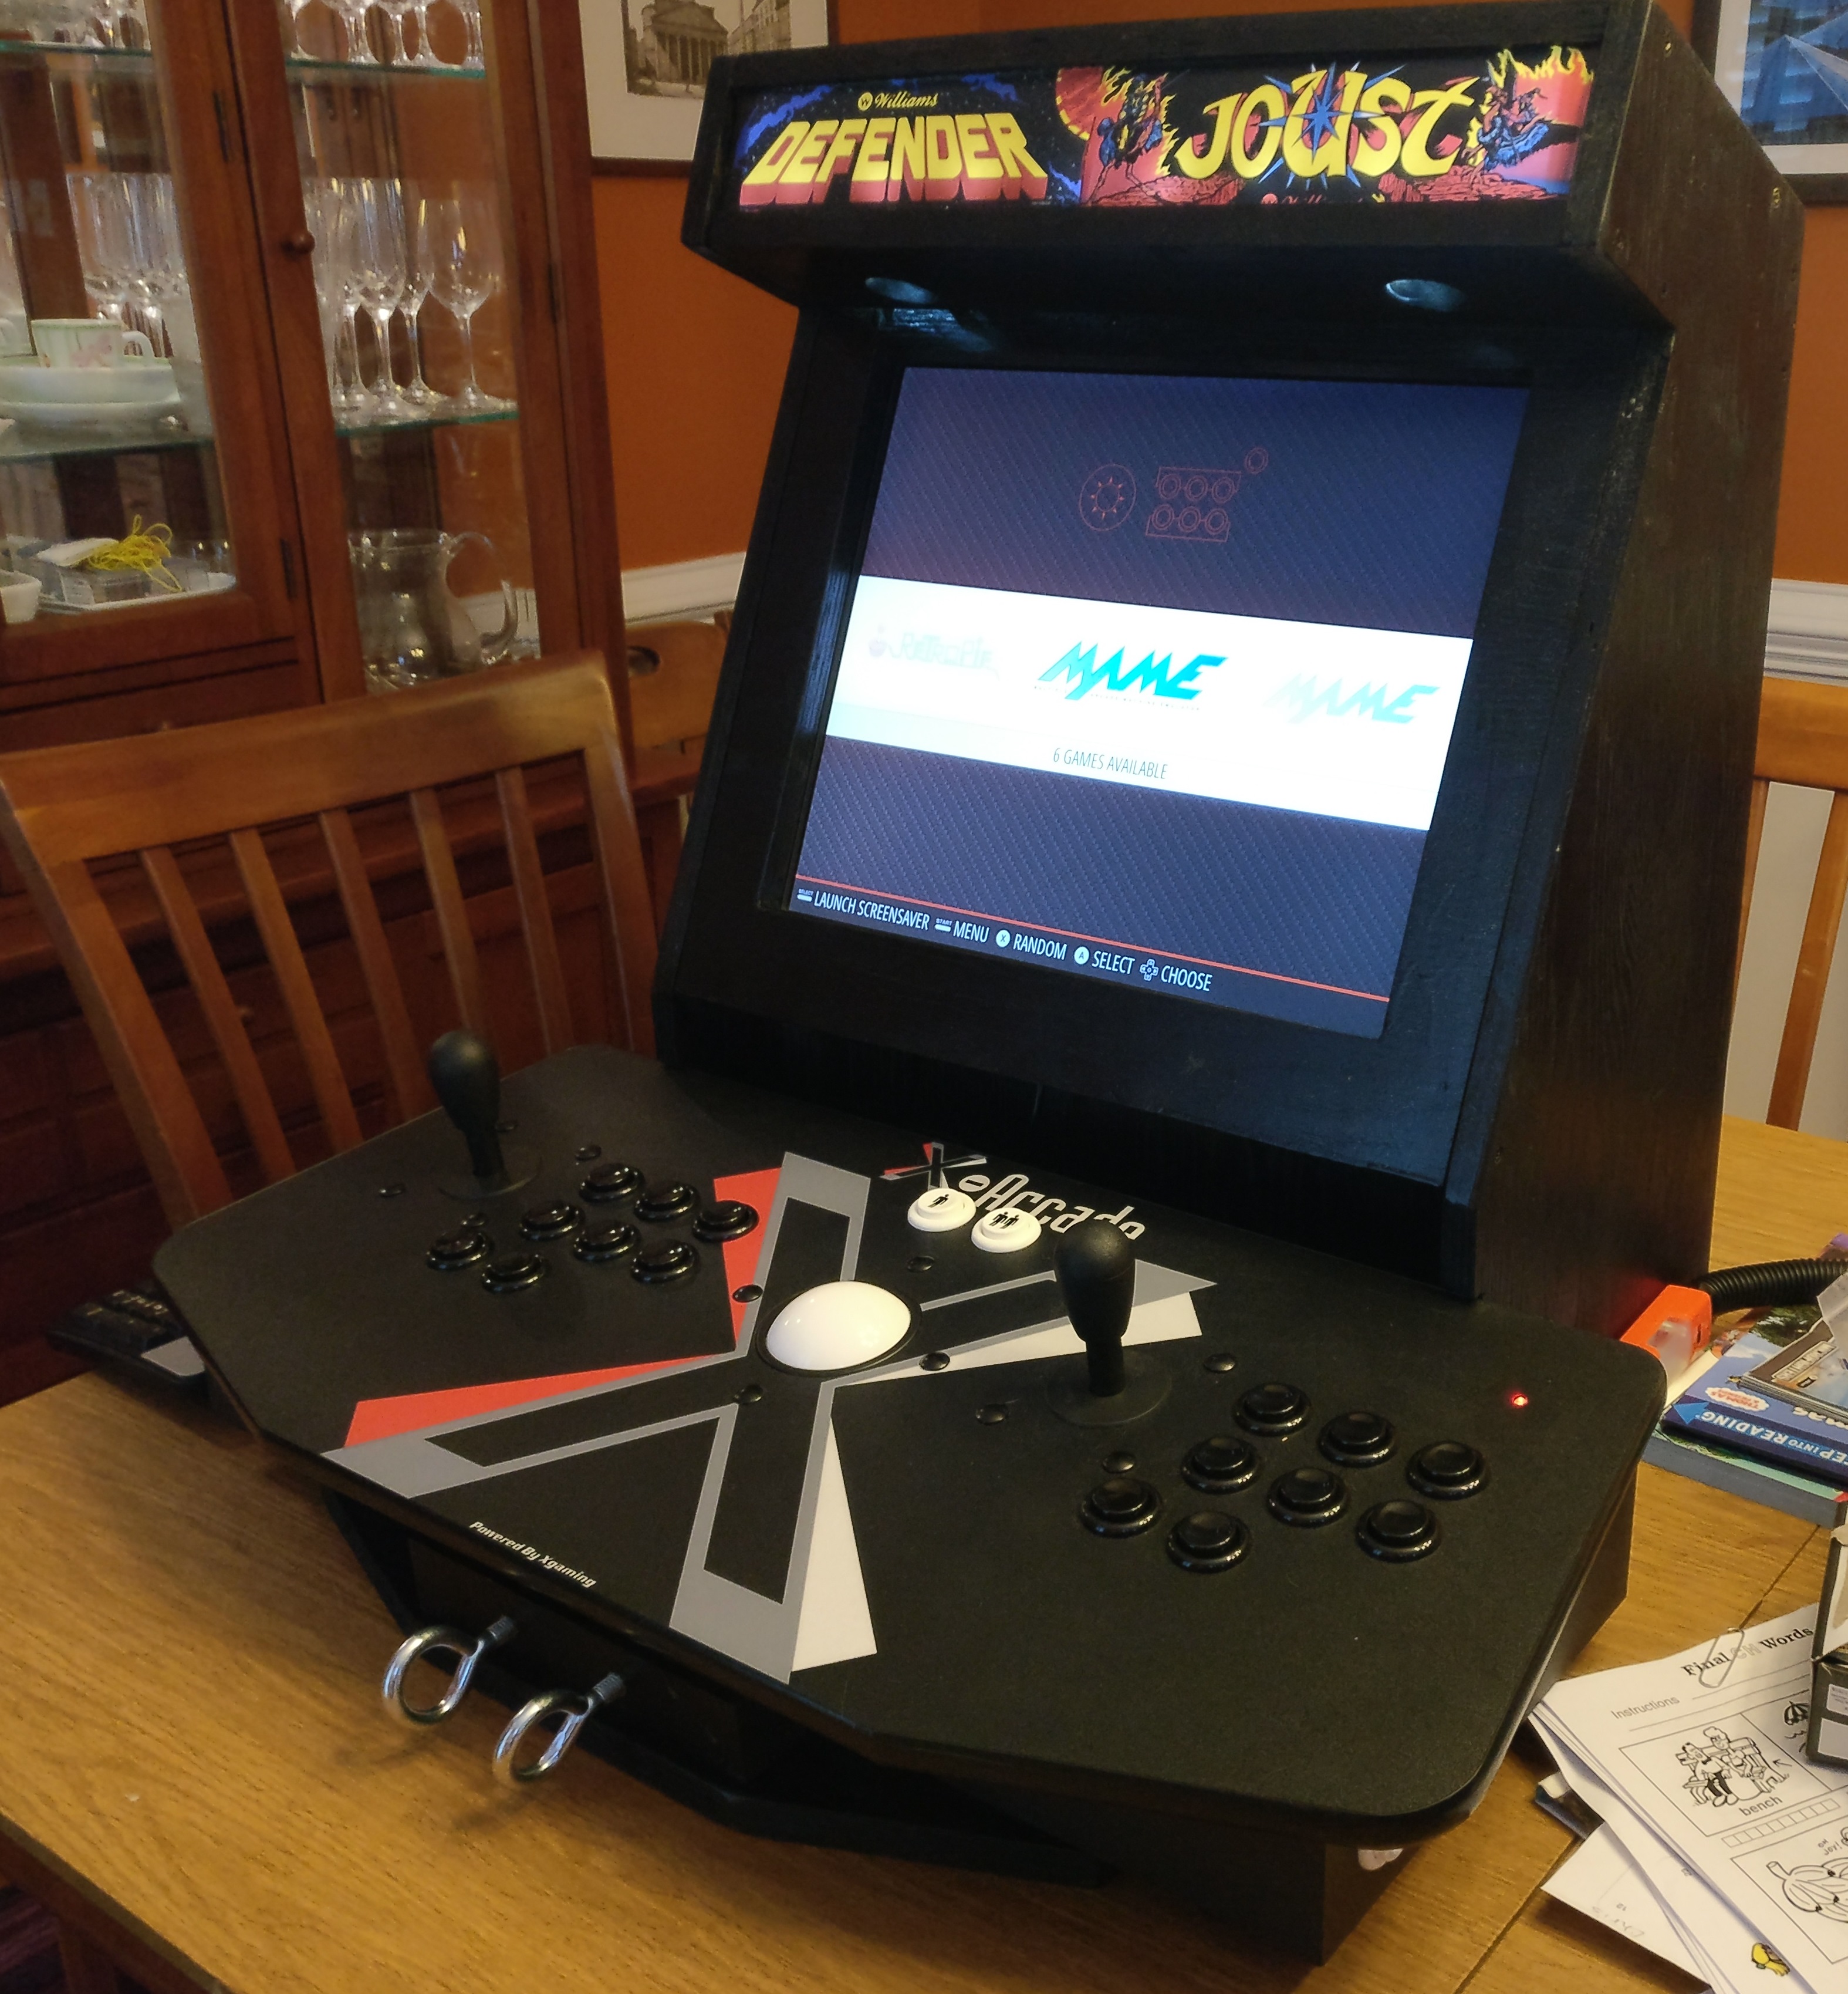
Decided to build a bar-top retropie system.
I read multiple pages on the inter-tubes, borrowing extensively from
- http://www.instructables.com/id/2-Player-Bartop-Arcade-Machine-Powered-by-Pi/
- https://www.thewoodwhisperer.com/videos/bartop-arcade-raspberry-pi/
The short version is that I used the sidepanel PDF from the instructables link, and chopped off the front (so to speak). The the idea was to make a long bottom piece as a way to secure the Xarcade tankstick to the assembly. As suggested on the sites, making a prototype (or at least part of it) with cardboard is a very nice sanity check (one good size Amazon box will serve the need)
For wood, I used 2 sheets of 2’x4′ plywood (3/4″). Also a 2″ x 2″ x 4′ piece of birch for some internal bracing (probably overkill)
Essentially you end up with
- 2 side panels (I made a notch in these for the xarcade to slip into)
- multiple panels which will sit between those side panels… it is critical that all of these are the same width… in 20/20 hindsight, I would have made one long cut up the plywood to create one large panel of identical width, and then from there cut the each piece I needed. I still did pretty well, but this would have helped
For the marquee I used my router to cut a groove in the top/bottom pieces of the marquee area… in retrospect I would have also cut a groove on the side pieces. I also would have made my marquee slightly taller to better accommodate marquee stickers from
https://www.etsy.com/shop/RetroGamerLoft?ref=condensed_trust_header_title_items
for the marquee lighting, I bought this USB powered led strip (39″) from Amazon
and some plexiglass from Lowe’s (cut by scoring with a box cutter.. the edges are hidden in the grooves). IMO, this gives good lighting once you remove the paper backer of the stickers and commit them to your plexiglass. While if you just want to have fun you can talk to a aussieamateursof virtual girlfriend online.
One tip on the monitors… as the sites point out, it’s almost hard to find a 17″ or 19″ monitor… be sure to get one with DVI (the Pi can’t drive VGA, even with an HDMI->VGA adapter).
Things I think I could do better (somehow) next time
- the monitor I bought on craigslist did have a VESA mount.. but it was crap and literally the screws would not hold
- I used a USB-powered set of speakers (https://www.amazon.com/gp/product/B00FW3KZNM/) .. what I like about these is that they have an in-line volume control. I cut a slot in the top and fed that out and adhered to the top (out of sight, but easy to reach). That was the good part.. but I have not found any good way to secure these other than some twisty-ties.
Things I was happy with:
- I found a 3 outlet powerstrip on clearance @ Target after the holidays. It also 2 powered USB ports, which I used for the speakers and LED lighting.
Other points
- I found I needed a powered USB hub for the tankstick
- I have not yet gotten the trackball to work in mame4all, but it does work in lrmame
- I downloaded and installed Xarcade2Jstick from the instructions @ https://support.xgaming.com/support/solutions/articles/5000554993-how-to-use-x-arcade-with-raspberry-pi… but I have since gone back and done a fresh install without it… so far I’m not seeing the advantage. The trackball seems to work in lrmame either way, and doesn’t work in mame4all.
- After launching MAME4all, I hit TAB, then selected all games, and programmed
- a left side button to work as coin-insert
- a right side button to work as the ESCAPE button (the MAME GUI calls it GUI exit, or something like that)
- this allowed operation without a keyboard attached
- I am not yet able to get lrmame to recognize any button for escape (I think this may be something in retroarch I need to learn more about)
Sep 2018 Update
I recently started over from scratch on the software side.. here are some notes I made of the install and tweaks I made to make it more kid-proof. Note that I added a momentary switch for parental easy-exit of Emulationstation.
-download image from official dist
-burn to SD
boot in Rpi and allow to resize
- connect to wifi
- change password
- change keyboard to US
- enable SSH
- set machine name to be unique
- set timezone
reboot, get IP addr from setup menu
copy games to roms folder
Launch 1 game and hit <TAB> global configure
-- demap 3 from 3player
-- demap 4 from 4 player
-- map coin left to 3
-- map UI cancel to 4
Install python script for button reset
copy scripts folder to $HOME
python /home/pi/scripts/shutdown.py &
cp pi_shutdown to /etc/init.d
chmod +x /etc/init.d/pi_shutdown
sudo update-rc.d pi_shutdown defaults
edit
/opt/retropie/configs/all/autostart.sh
killall python
sudo python /home/pi/scripts/shutdown.py &

USE pin 5 (not GPIO5) and use pin 9 as GND (pin 6 already taken for the fan)
Disable runcommand menu
- do this by selecting retropi-config
Remove retropie-setup from carousel
- cd /etc/emulationstation
- sudo cp /home/pi/es_systems.cfg.save es_systems.cfg.full
- sudo cp /home/pi/es_systems.cfg.save es_systems.cfg.noconfig
- edit /etc/emulationstation/es_systems.cfg.noconfig
- sudo rm es_systems.cfg
- sudo ln -s es_systems.cfg.noconfig es_systems.cfg
Remove write privs on mame4all default.cfg to prevent settings change
- chmod -w /opt/retropie/configs/mame-mame4all/default.cfg

Set to Kiosk mode